Creative Beer Packaging Methods for Competitions and Shipping
Table of Contents
Introduction
Ensuring beer is securely packaged for competitions and shipping is crucial to prevent breakage and maintain quality. This guide showcases several methods used by brewers, encouraging safe, cost-effective, and creative packaging practices.
1. Spirited Shippers
Materials Needed
- Spirited Shipper box
- Inserts for bottle/can protection
- Packing tape
Step-by-Step Process
- Securely place bottles/cans in the inserts.
- Seal the package and apply labels properly.
Pros & Cons
- ✅ Sturdy, reusable, designed for shipping
- ❌ Can be more expensive than DIY methods
Source
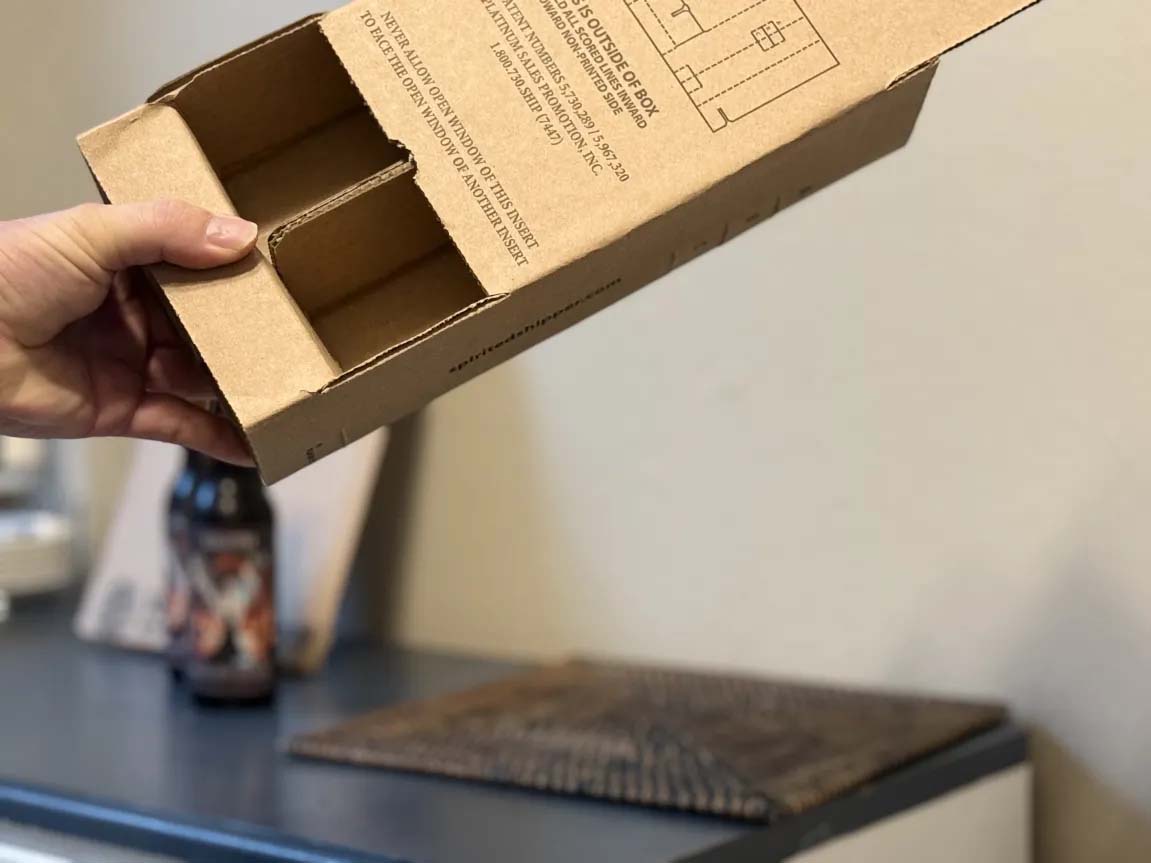
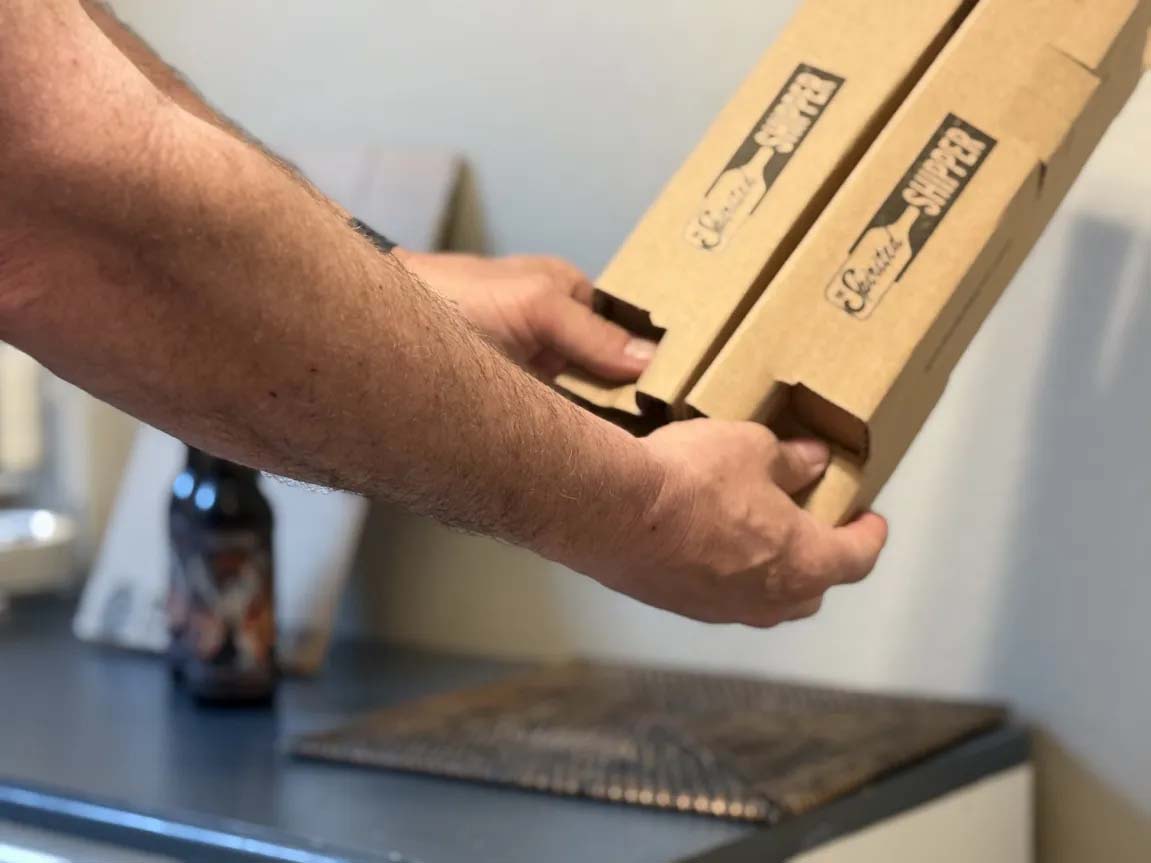
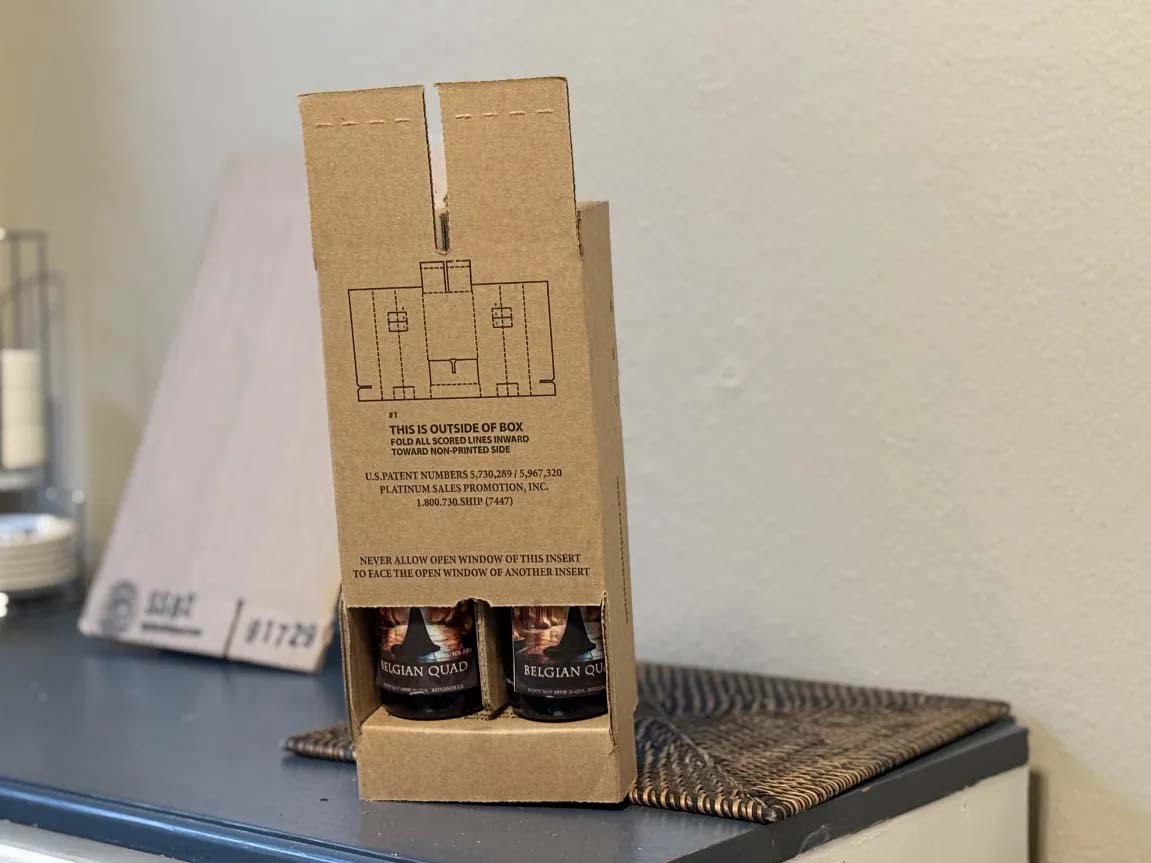
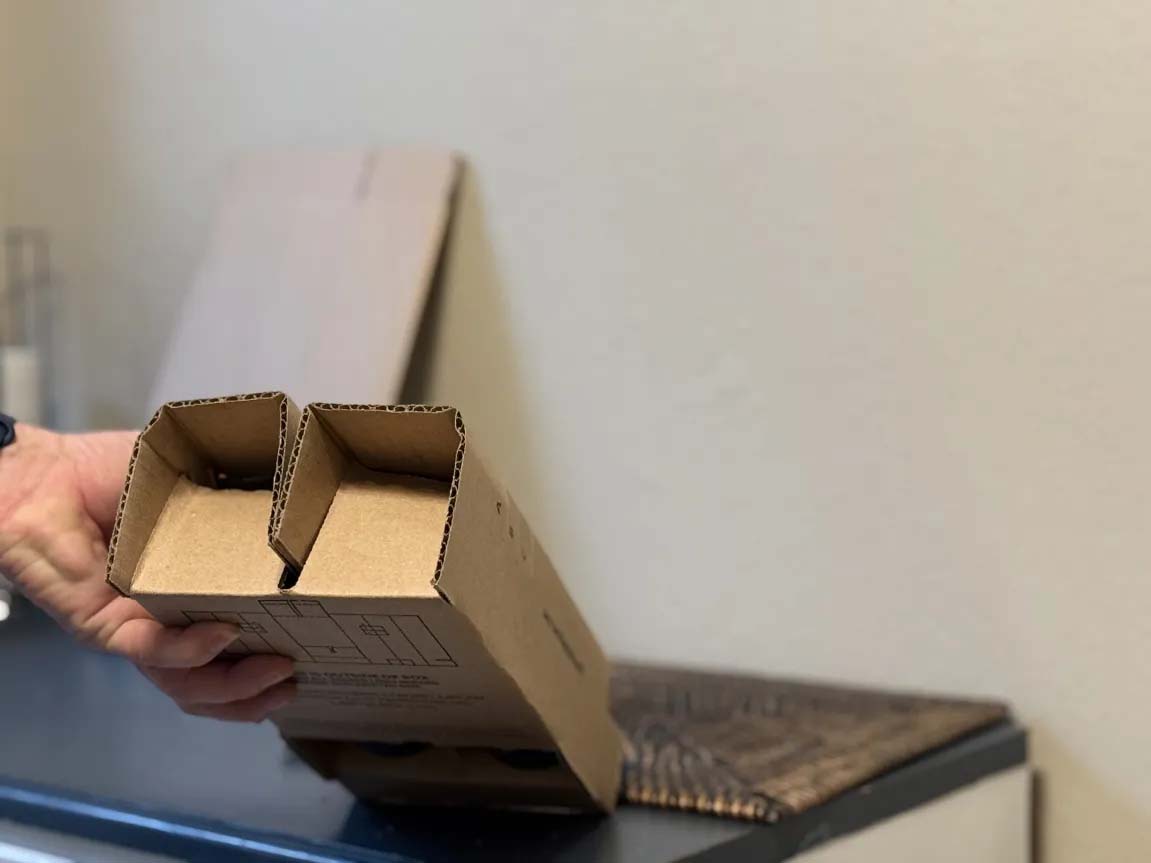
Caption: Using Spirited Shippers.
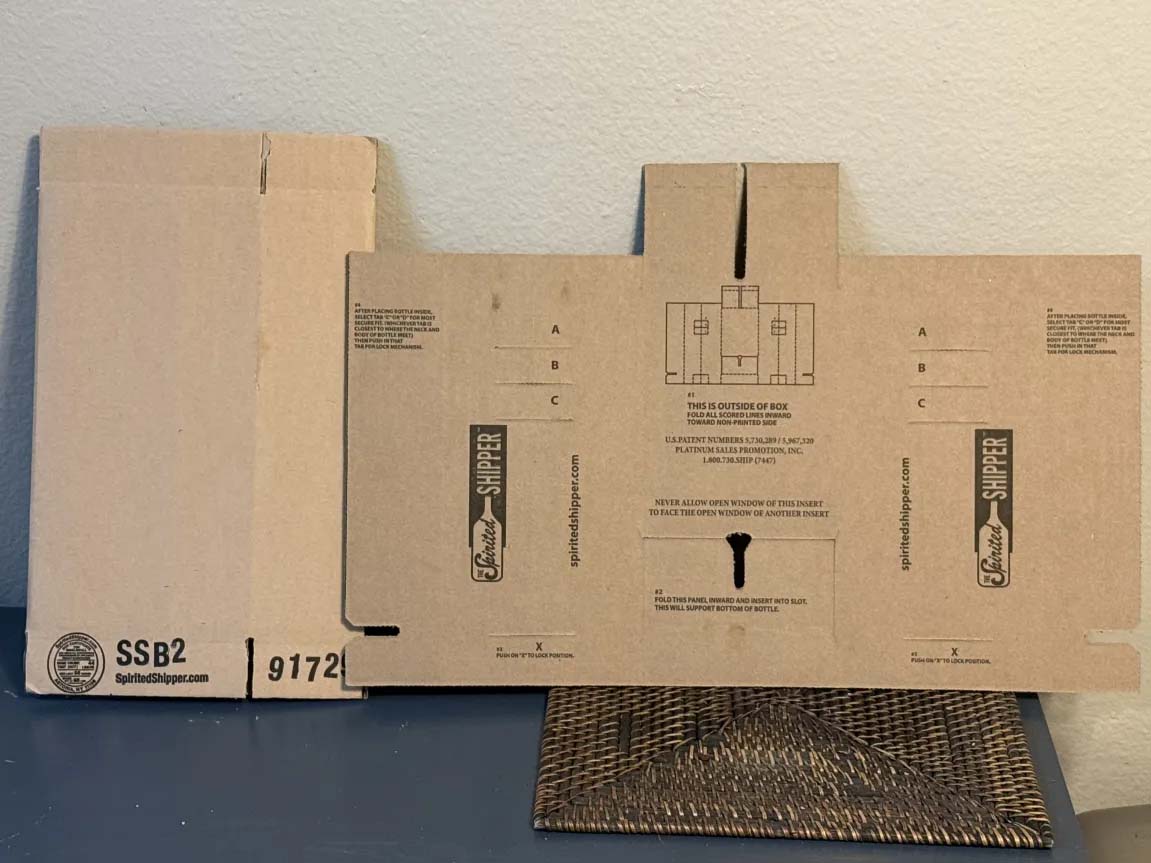
Caption: Fold along the provided creases.
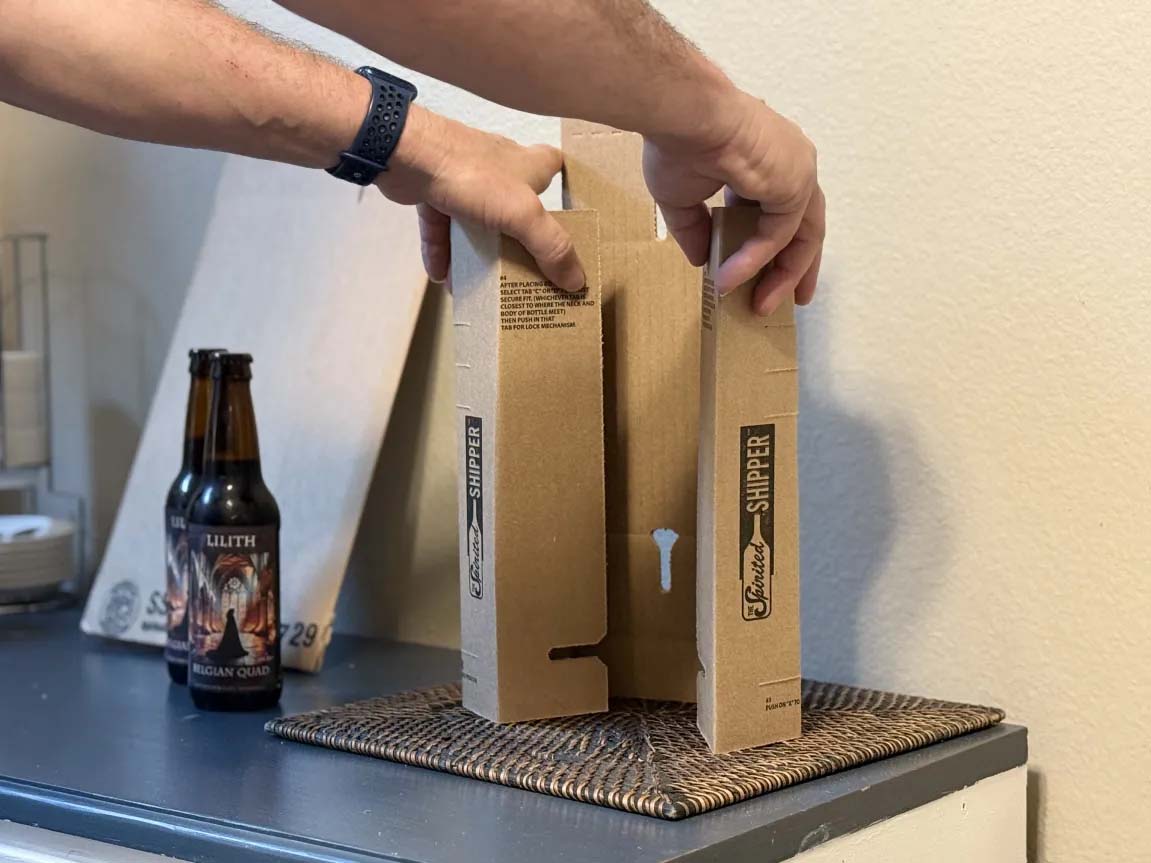
Caption: Continue to fold until the basic shape is ready for two bottles.
Caption: Press in tabs at bottom.
Caption: Insert bottles.
Caption: Fold in top flaps.
Caption: Secure bottles in package with additional tabs.

Caption: Secure insert sleeve into outer packaging.
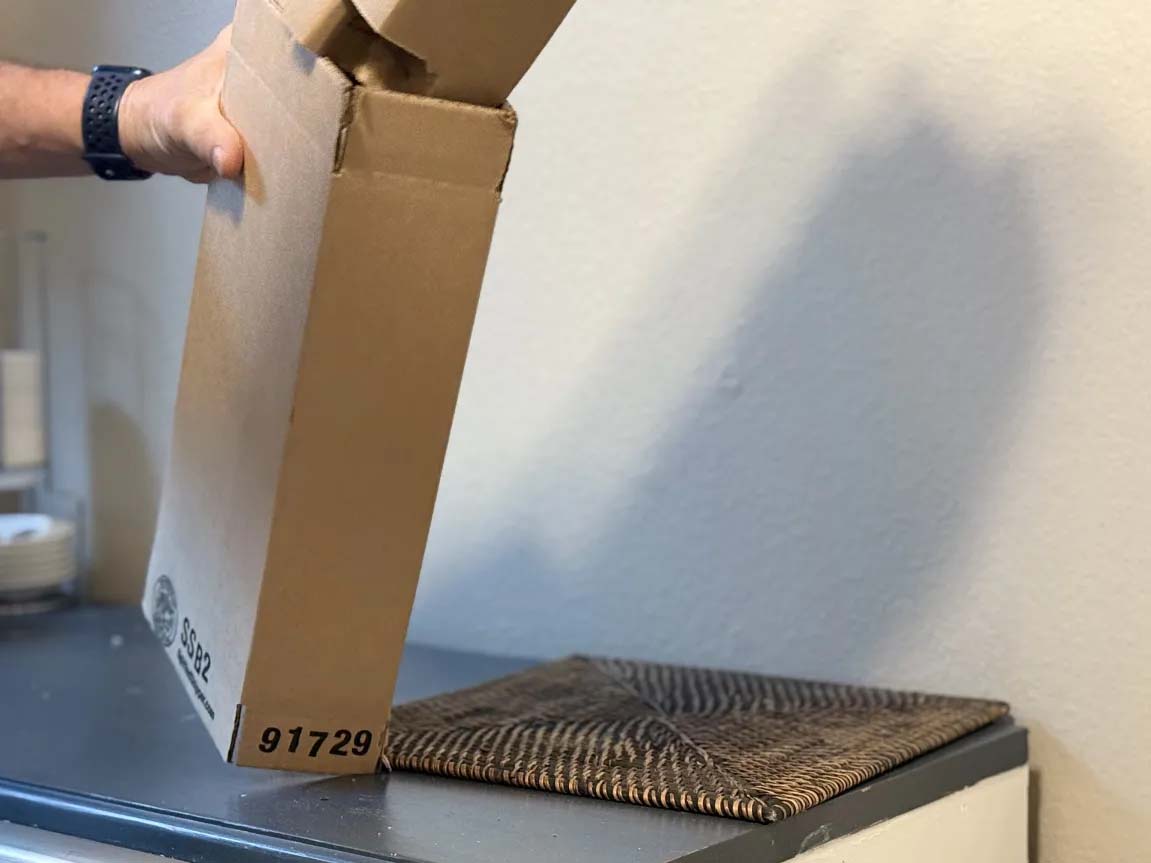
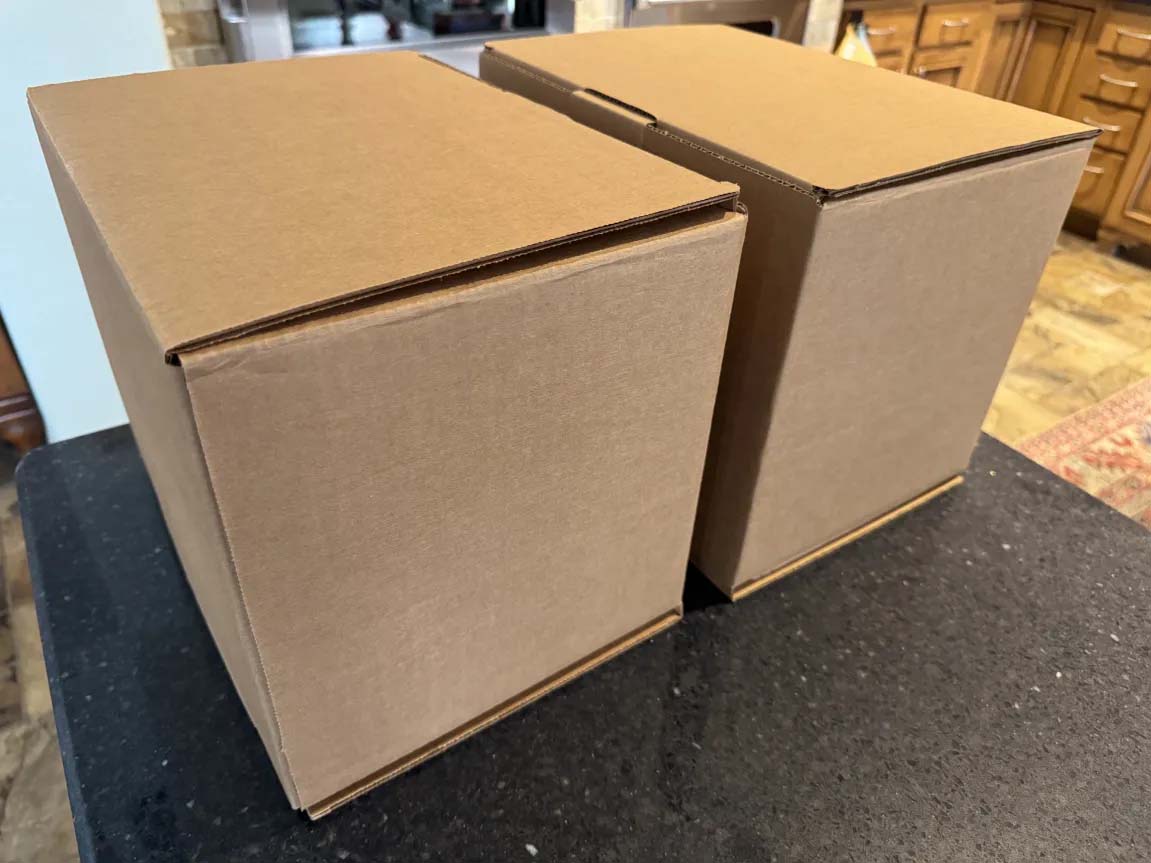
2. Whale Pods
Materials Needed
- Whale Pod shipping container
- Additional padding (if necessary)
- Tape and labels
Step-by-Step Process
- Load bottles/cans securely into the container.
- Seal and label the package properly.
Pros & Cons
- ✅ Purpose-built, high level of protection
- ❌ Higher upfront cost
Source
Caption: Place foam insert at bottom of box.
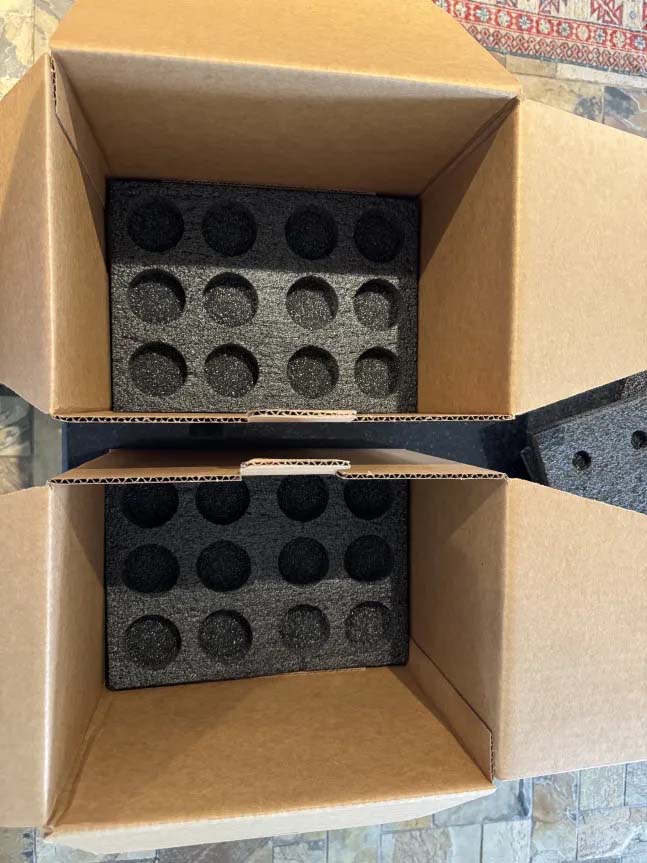
Caption: Place bottles into foam inserts and add top foam inserts.

Caption: Add top inserts on top of bottles.
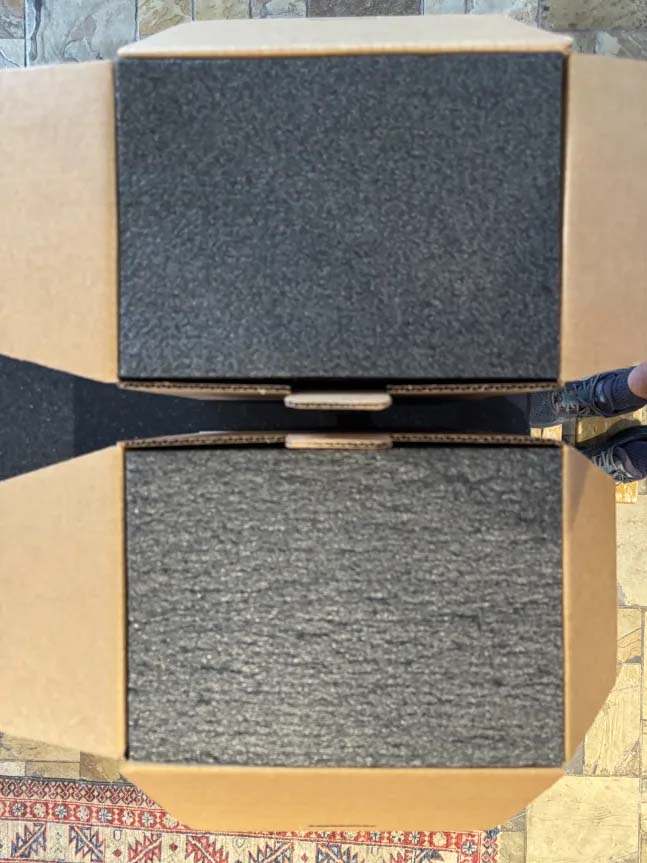
Caption: Close up box and it’s ready for your tape and label.
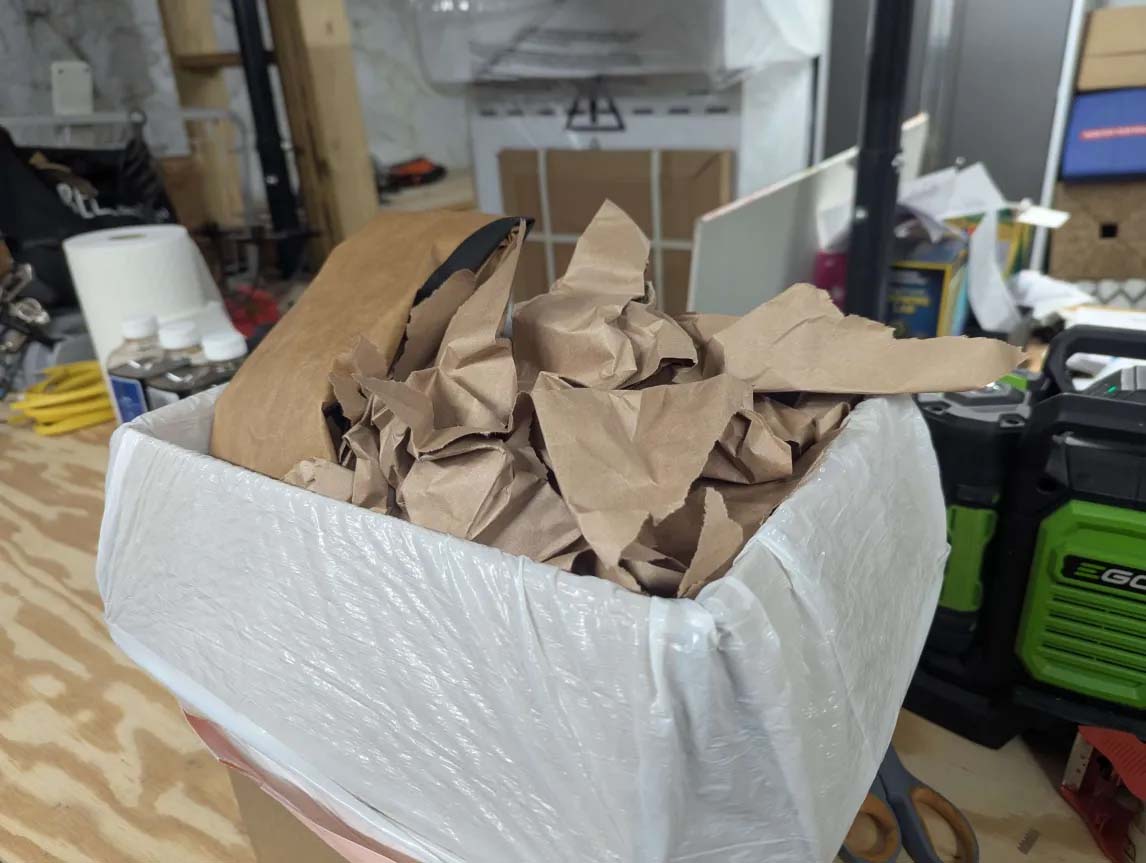
3. Boxes and Bubble Wrap
Materials Needed
- Sturdy cardboard box
- Bubble wrap or foam padding
- Dividers (optional)
Step-by-Step Process
- Wrap bottles/cans individually.
- Securely place them in the box.
- Fill empty spaces to prevent movement.
Pros & Cons
- ✅ Cost-effective, readily available materials
- ❌ Requires careful packing to avoid breakage
Source
- Free Supplies from UPS – Click Here
- Free Supplies from USPS – Click Here
- Free Priority Mail Flat Rate Padded Envelopes (As Bubble Wrap) – Click Here
- Bubble Wrap – Click Here
- Packaging Tape – Click Here
- Boxes available at various sources
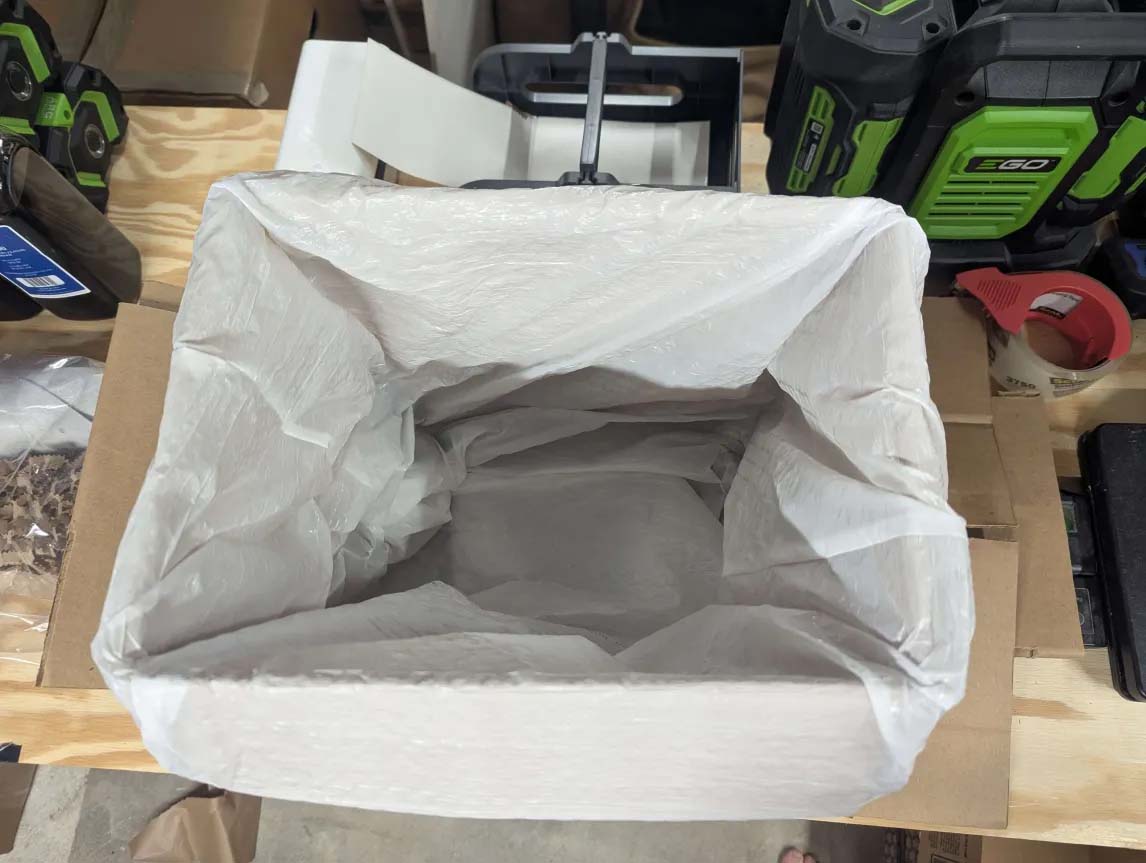
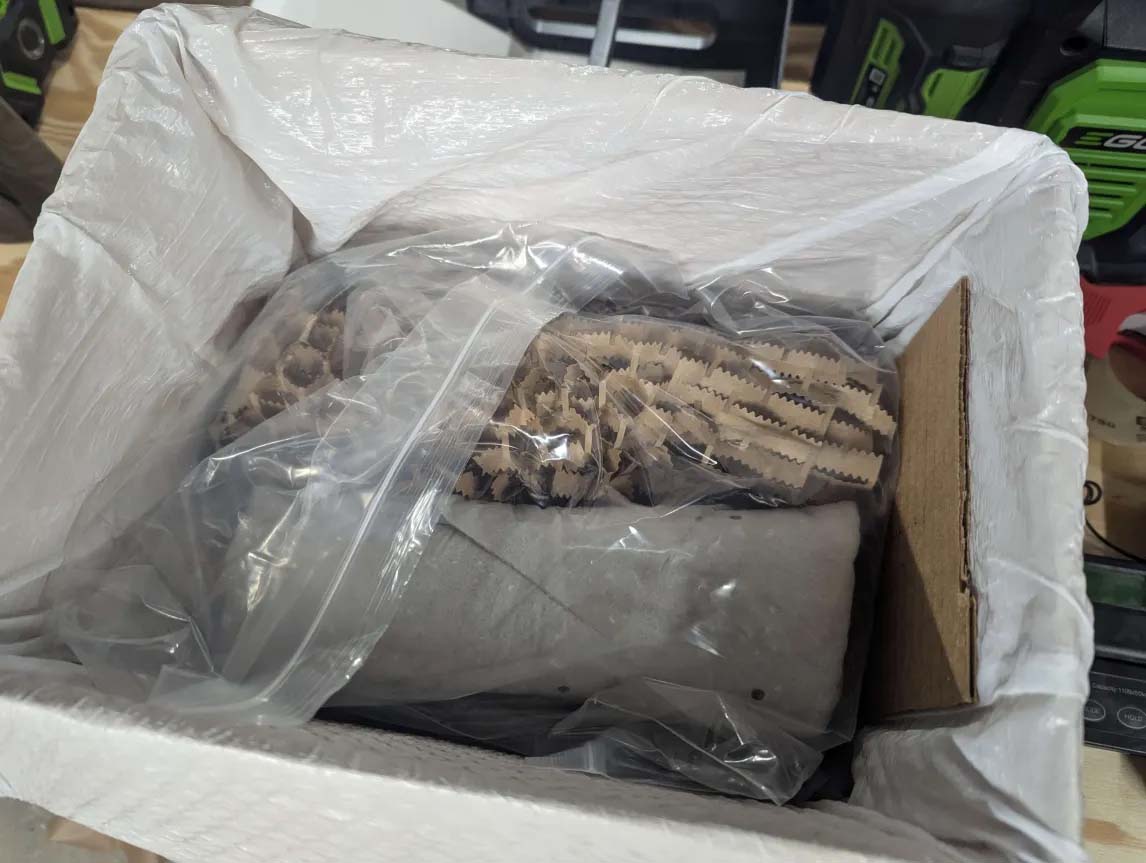
Caption: Line box with trash bag to capture any wandering liquid.
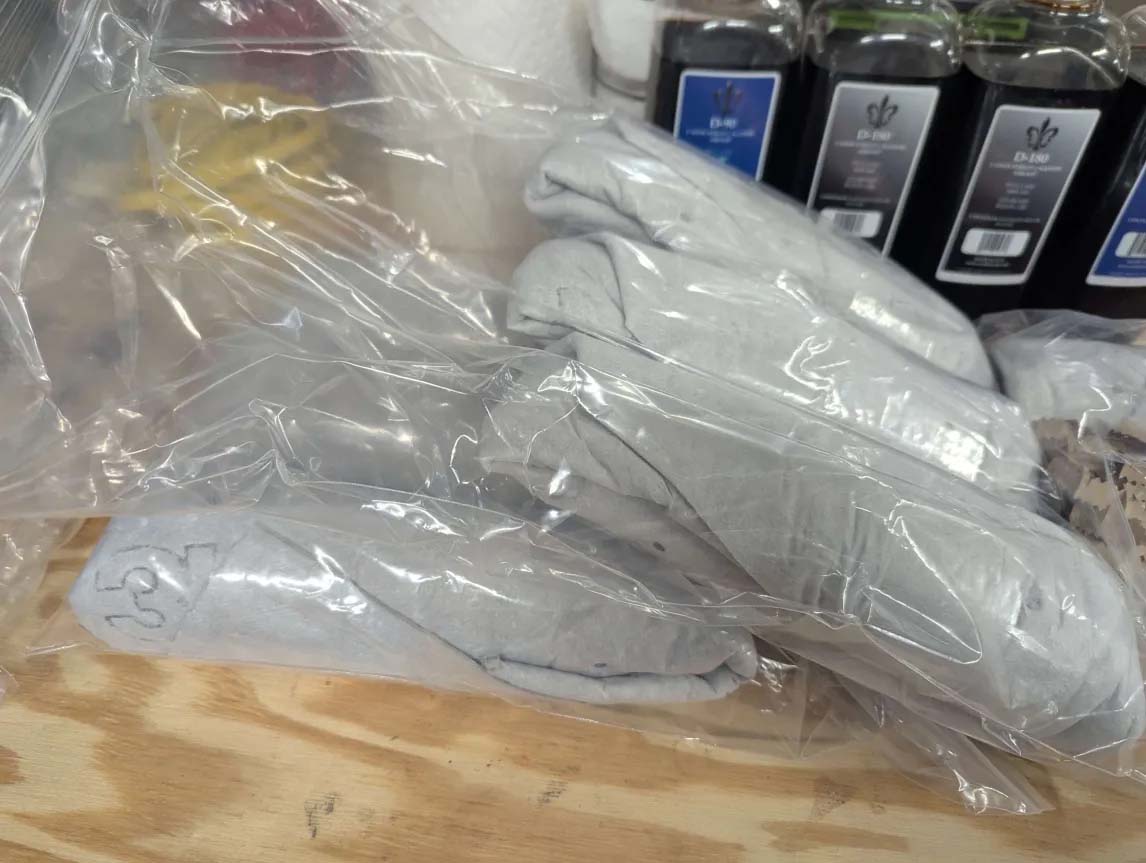
Caption: Wrap each bottle individually.
Caption: After wrapping each bottle, secure them in Ziplock bags.

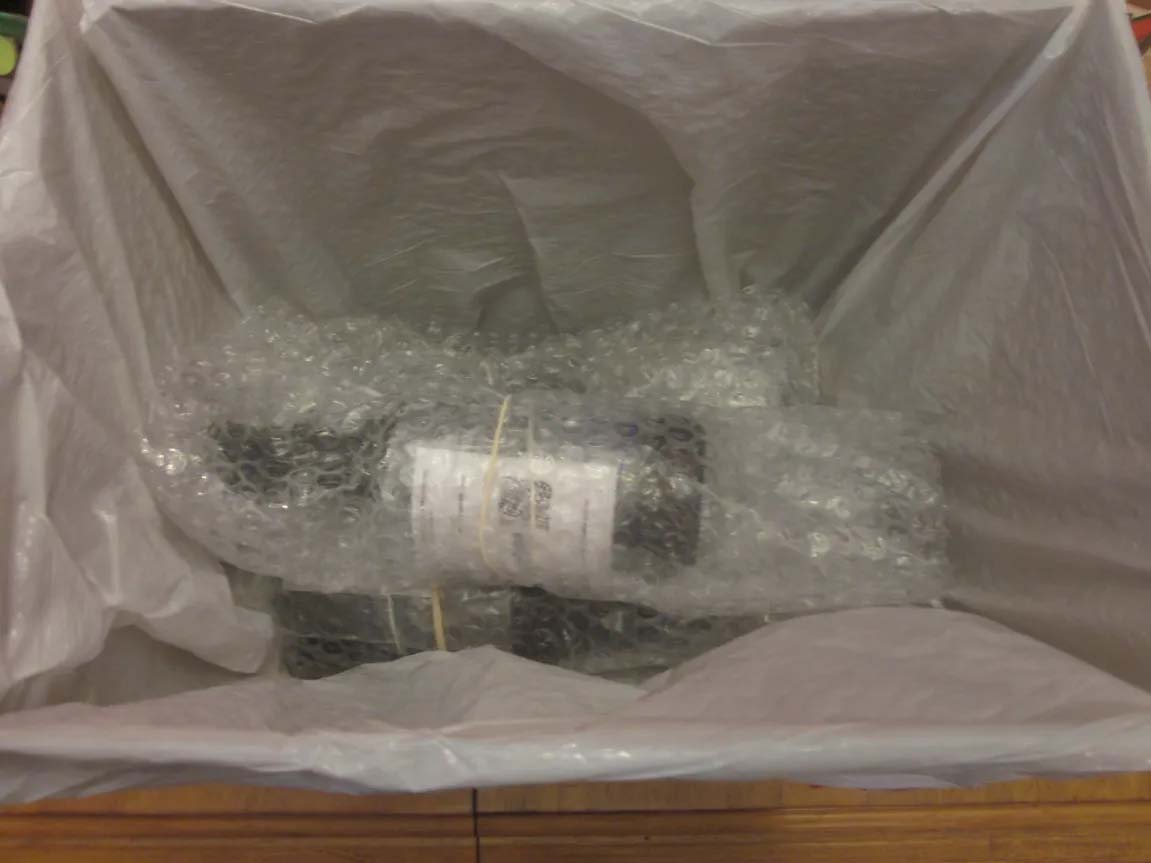
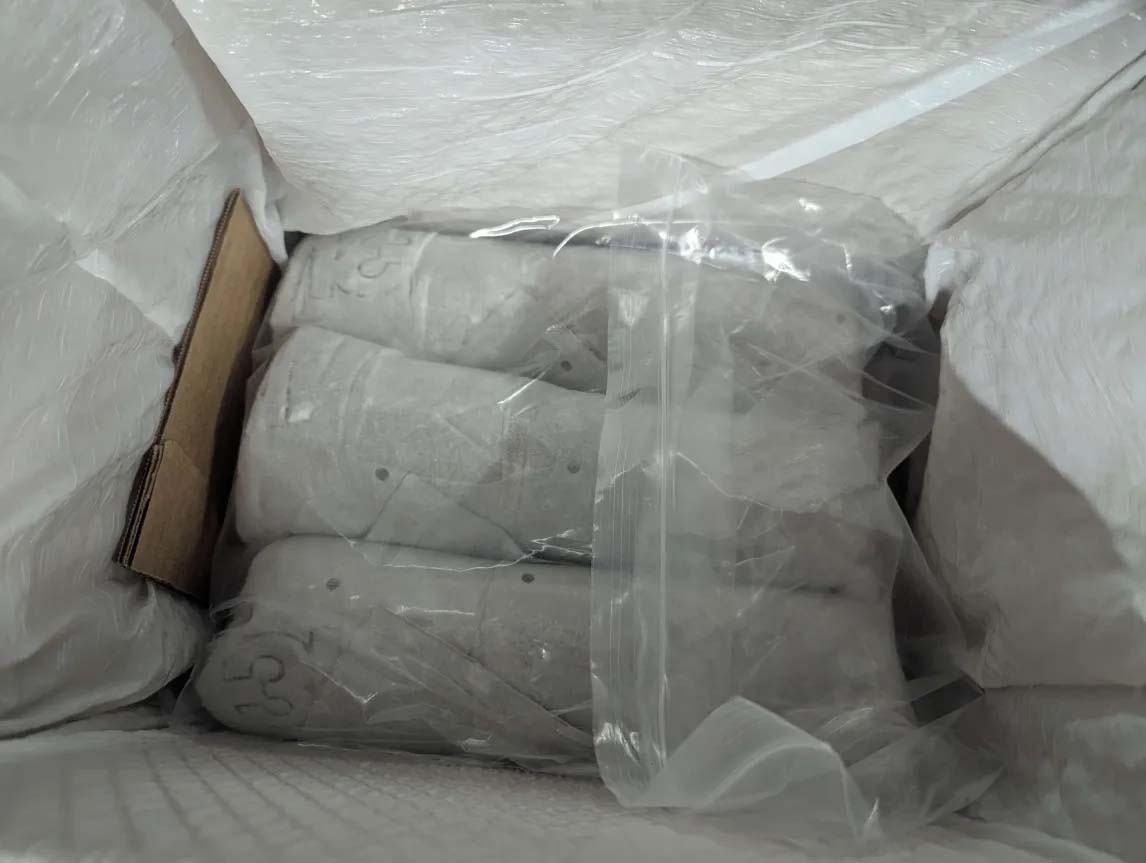
Caption: Carefully place wrapped bottles into box.
Caption: Ziplock bags are your friends.
Caption: Add additional material to ensure no movement in box.
Caption: Almost ready.
Caption: Keep adding until it’s very tight.
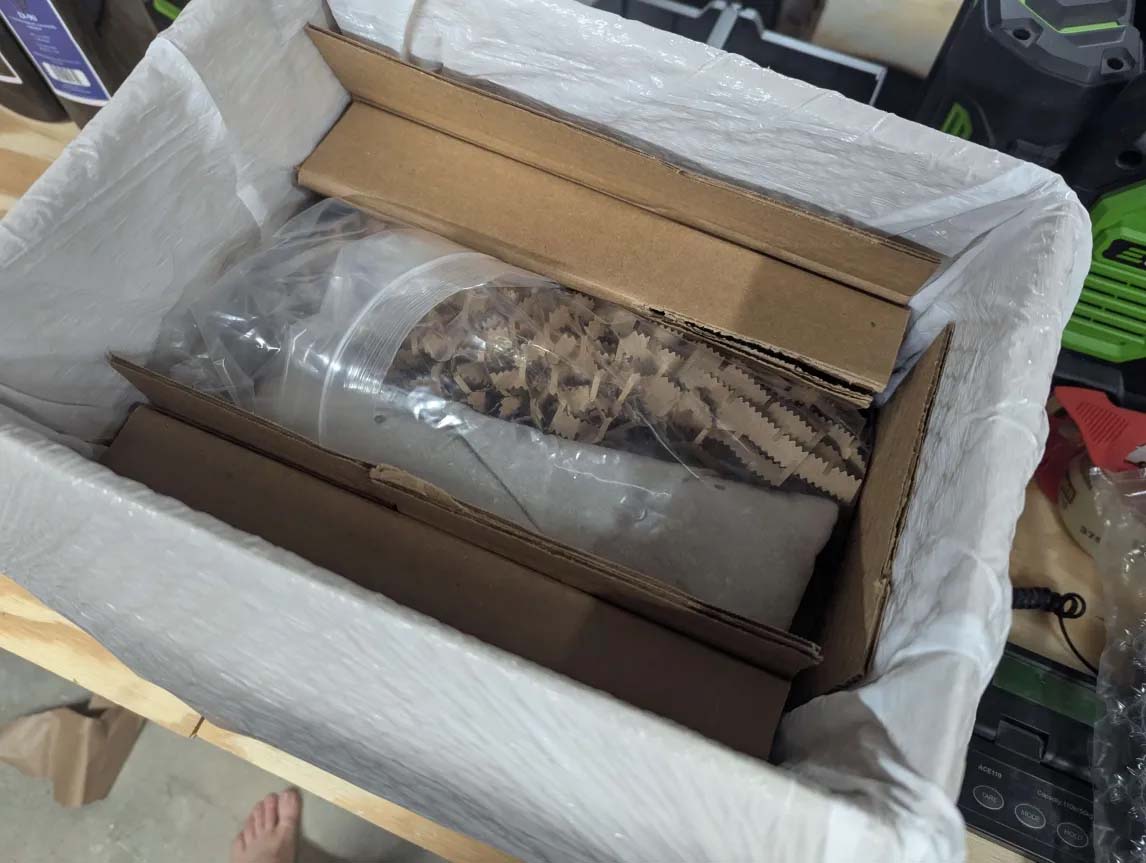
Caption: And a little more.
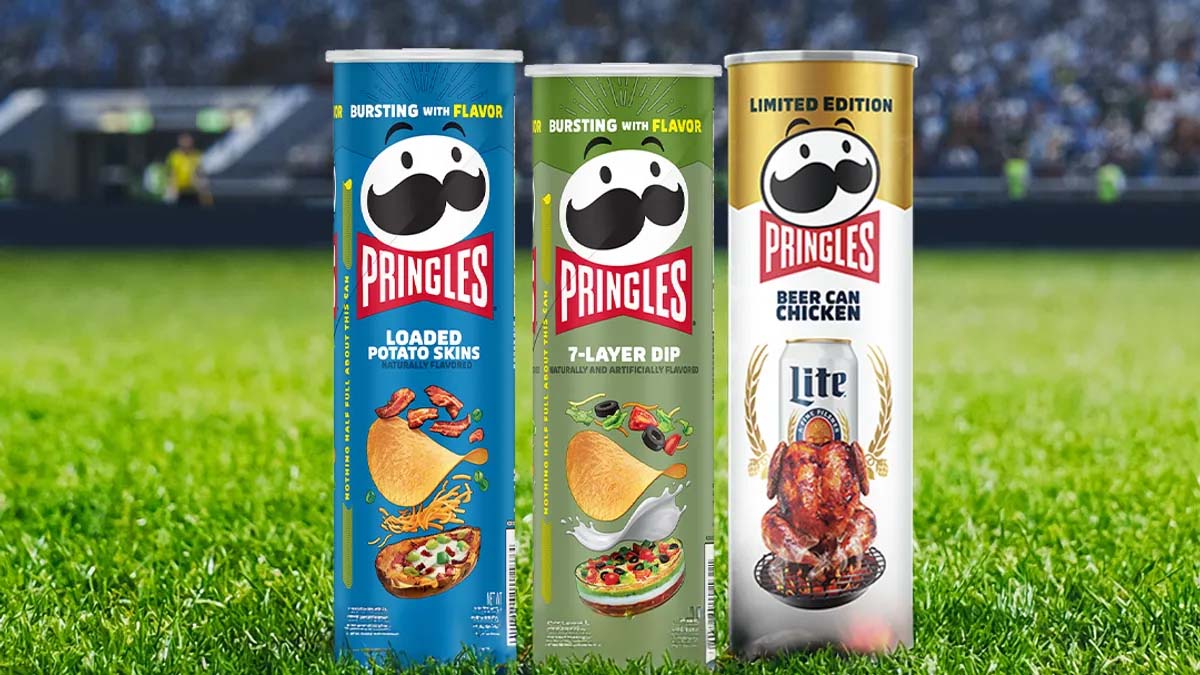
4. Pringles Can Method
Materials Needed
- Pringles cans
- Padding material (foam, bubble wrap)
- Outer shipping box
Step-by-Step Process
- Prepare Pringles cans for safe transport.
- Securely seal and label the package.
Pros & Cons
- ✅ Creative, affordable, works well for smaller bottles
- ❌ Limited size compatibility
Source
Caption: Placeholder image for Pringles method.